Hayman Reese Brake Controller User Manual: A Comprehensive Guide
This manual provides detailed instructions for installing and operating your Hayman Reese brake controller, ensuring safe and effective towing․
It covers everything from initial setup to troubleshooting, referencing resources like haymanreese․com․au and caravansplus․com․au for support․
Hayman Reese is a leading Australian manufacturer of towing equipment, renowned for quality and innovation․ Their brake controllers are designed to synchronize the brakes of your tow vehicle and trailer, ensuring safe and controlled stopping power;
This is crucial for maintaining stability and preventing dangerous situations while towing․
The range includes both proportional and time-activated controllers, catering to various towing needs․ The CompactIQ, a recent addition, offers proportional braking, while the Compact unit provides time-activated control․ Guardian models are also available․ Proper installation, as detailed in this manual and at haymanreese․com․au, is paramount for optimal performance․ Always disconnect the negative battery cable before wiring, as per installation instructions․
Understanding Proportional vs․ Time-Activated Controllers
Hayman Reese offers two primary brake controller types: proportional and time-activated․ Proportional controllers, like the CompactIQ, apply braking force to the trailer in direct proportion to the deceleration of the tow vehicle․ This provides smoother, more responsive braking, especially during partial braking scenarios․
Time-activated controllers, such as the standard Compact unit, apply a pre-set level of braking force for a specific duration when the brakes are applied in the tow vehicle․ While effective, they may not offer the same nuanced control as proportional systems․ Choosing the right controller depends on your towing needs and trailer weight․ Refer to resources like caravansplus;com․au for guidance․
Safety Precautions Before Installation
Prior to installing your Hayman Reese brake controller, disconnecting the vehicle’s negative (-) battery cable is crucial to prevent electrical shock and damage to the vehicle’s electrical system․ Ensure the vehicle is parked on a level surface and the parking brake is firmly engaged․
Carefully read all installation instructions and familiarize yourself with the wiring diagrams․ Before drilling, verify there are no hidden wires or components behind the mounting surface․ Use appropriate safety glasses and tools․ Improper installation can compromise braking performance, so if unsure, consult a qualified automotive electrician․ Always refer to haymanreese․com․au for the latest safety guidelines․
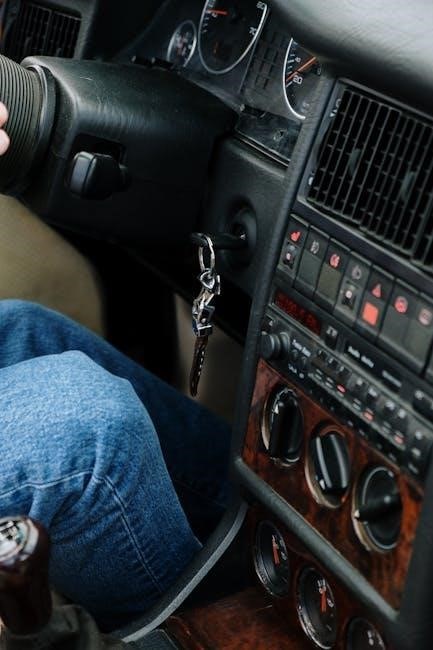
Disconnecting the Vehicle Battery
Before commencing any wiring, absolutely disconnect the negative (-) cable from the vehicle battery․ This vital step prevents short circuits and potential damage to your vehicle’s sensitive electronic systems, including the brake controller itself․ Locate the negative terminal, typically marked with a (-) symbol, and carefully loosen the nut securing the cable clamp․
Once loosened, gently remove the cable from the terminal, ensuring it doesn’t accidentally touch the terminal during the installation process․ Secure the disconnected cable to prevent accidental reconnection․ Refer to installation instructions – direct from haymanreese․com․au – for specific vehicle guidance․
Tools Required for Installation
Successful installation necessitates having the correct tools readily available․ You will need a drill with various sized drill bits for mounting the control unit, ensuring a secure fit․ A screwdriver set – both Phillips head and flathead – is essential for securing brackets and making wiring connections․ Wire strippers and crimpers are crucial for preparing and connecting wires effectively․
Additionally, a multimeter is highly recommended for testing connections and verifying proper functionality․ Consider having a panel removal tool to avoid damaging interior trim․ Always prioritize safety; wear appropriate eye protection․ Refer to haymanreese․com․au for detailed diagrams and potential vehicle-specific tool requirements․
Installation Guide
This section details the physical installation process, covering mounting the control unit securely, carefully wiring the harness (Part No: 05012), and ensuring proper accessibility for the driver․
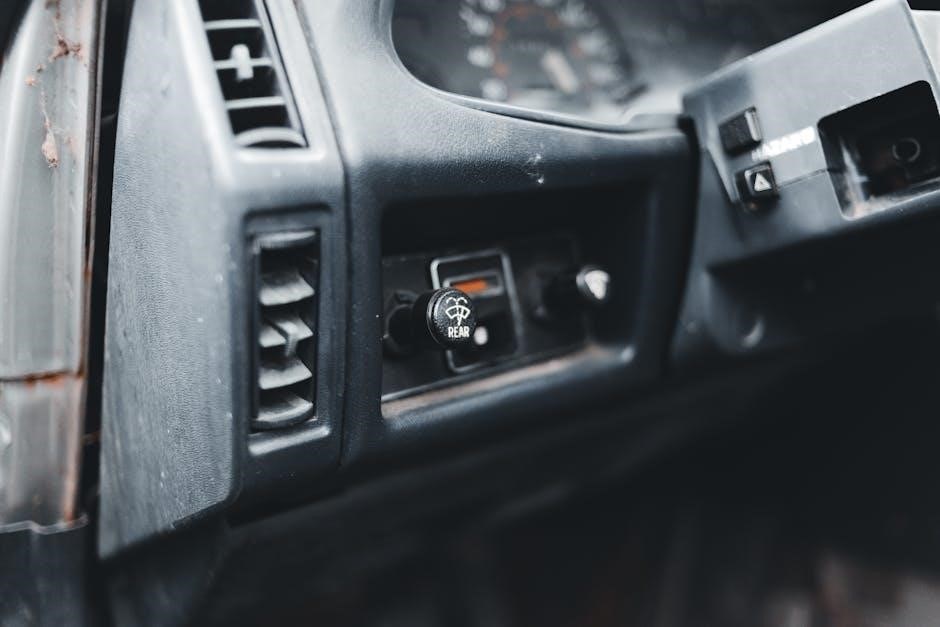
Mounting the Control Unit
Securely mounting the Hayman Reese brake controller is crucial for safe operation․ First, choose a suitable location within easy reach of the driver, avoiding interference with vehicle controls․
Ensure the area behind the mounting panel is clear before drilling, utilizing the bracket as a template to accurately mark hole locations․ The unit must be mounted to a solid surface to prevent vibration and ensure stability․
Consider accessibility; the driver needs unobstructed access to the manual slide control and the LED display․ Proper mounting, following these guidelines (A, B, and C), guarantees optimal functionality and driver convenience during towing operations․ Refer to installation instructions at haymanreese․com․au for detailed diagrams․
Choosing a Suitable Location
Selecting the right location for your Hayman Reese brake controller is paramount for safe and convenient towing․ The ideal spot is within easy reach of the driver, allowing for quick adjustments without diverting attention from the road․
Avoid areas that could obstruct access to vehicle controls or interfere with legroom․ Consider a position that provides a clear view of the LED display indicators․
Ensure there’s sufficient space behind the mounting surface for wiring and bracket installation․ Prioritize a solid, stable surface to minimize vibration․ Careful location planning, as outlined in the installation instructions, maximizes usability and safety during operation․
Securing the Unit to a Solid Surface
Properly securing the Hayman Reese brake controller is crucial for reliable operation and driver safety․ The unit must be mounted to a solid surface capable of withstanding vibrations and the forces experienced during braking․
Utilize the provided mounting bracket as a template to accurately mark the hole locations․ Before drilling, verify the area behind the panel is completely clear of any wiring or components to prevent damage․
Ensure the bracket is firmly attached using appropriate hardware for the vehicle’s dashboard material․ A secure mount prevents movement and ensures consistent performance, contributing to a safer towing experience․
Ensuring Accessibility for the Driver
Optimal placement of the Hayman Reese brake controller is paramount for convenient and safe operation while driving․ The unit must be positioned within easy reach of the driver, allowing for quick adjustments without diverting attention from the road․
Consider the natural hand position while seated in the driving position․ The manual slide control and Sync button should be readily accessible, minimizing the need to stretch or lean․
Avoid locations that could be obstructed by the steering wheel, gear shift, or other vehicle controls․ A clear, unobstructed view of the LED display is also essential for monitoring controller status and brake output․
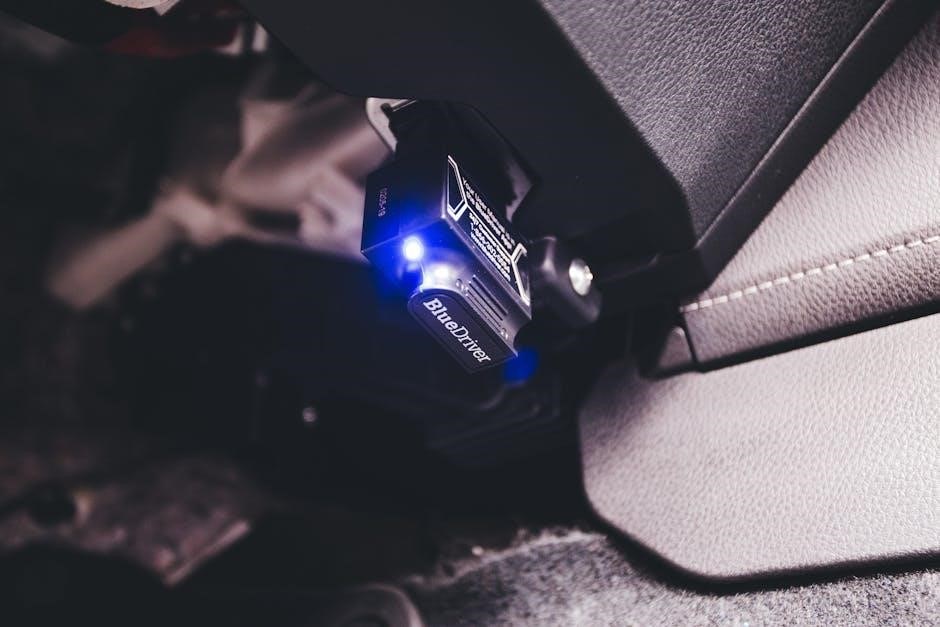
Wiring the Brake Controller
Proper wiring is crucial for the correct function of your Hayman Reese brake controller․ Begin by identifying your vehicle’s harness layout – typical layouts are available for reference․ The SmartClick wiring system (Part No: 05012) simplifies the connection process, offering a streamlined approach․
Carefully connect the brake controller harness, ensuring all connections are secure and properly aligned․ Refer to the detailed wiring instructions available at haymanreese․com;au/wiringinstructions for specific guidance․ Double-check all connections before proceeding to the next step․
Remember to disconnect the negative (-) cable before commencing any wiring work to prevent short circuits and ensure safety․
Identifying Vehicle Harness Layout
Before connecting the Hayman Reese brake controller, accurately identifying your vehicle’s harness layout is essential․ This ensures compatibility and prevents wiring errors․ Typical vehicle harness layouts are readily available as a reference point during installation․
Locate the existing wiring connectors within your vehicle’s dashboard area․ These connectors will correspond to the functions required by the brake controller – brake lights, tail lights, and the necessary power sources․ Carefully examine the wiring diagram specific to your vehicle model․
Referencing resources like haymanreese․com․au can provide detailed diagrams and guidance for locating and identifying these harnesses․
SmartClick Wiring System Overview
The Hayman Reese SmartClick wiring system simplifies brake controller installation significantly․ This innovative system utilizes a pre-wired harness (Part No: 05012) designed to connect directly to your vehicle’s existing wiring, minimizing the need for splicing or complex connections․
SmartClick eliminates much of the guesswork associated with traditional wiring methods, reducing installation time and the risk of errors․ The harness features color-coded connectors for easy identification and a secure, reliable connection․
Detailed installation instructions and wiring diagrams are available at haymanreese․com․au, providing a step-by-step guide to utilizing the SmartClick system effectively․
Connecting the Brake Controller Harness (Part No: 05012)
Begin by carefully identifying your vehicle’s harness layout – typical layouts are illustrated on haymanreese․com․au for guidance․ Once identified, connect the Part No: 05012 brake controller harness, ensuring a secure fit for each connector․
Match the color-coded wires from the harness to the corresponding wires in your vehicle’s harness․ Double-check all connections before proceeding․ A solid connection is crucial for proper brake controller function․
Refer to the detailed wiring instructions available online at haymanreese․com․au for specific vehicle applications․ Ensure the negative (-) cable is disconnected before wiring the brake control unit for safety․
Setting Up the Controller
After installation, the initial power-up will activate the LED display, indicating the controller’s status․ Familiarize yourself with the LED indicators, as they provide vital information about the controller’s operation and any potential issues․
Adjusting the gain control is crucial for optimal performance․ Begin by setting the gain to approximately 2․0 by pushing the gain button upwards․ This sets a baseline for proportional braking․ Fine-tune the gain based on your trailer’s weight and driving conditions․
Remember to consult the manual for detailed instructions on gain adjustment and synchronization procedures, ensuring safe and effective towing․
Initial Power-Up and LED Display
Upon connecting the battery and powering on the Hayman Reese brake controller, the unit will undergo a self-check, indicated by the LED display․ Observe the LED sequence carefully; it confirms the controller is receiving power and functioning correctly․
The LED display serves as a critical communication tool, providing real-time feedback on brake application, synchronization status, and potential error conditions․ Understanding the different LED patterns is essential for diagnosing and resolving any operational issues․
Refer to the controller’s documentation for a comprehensive explanation of each LED indicator and its corresponding meaning, ensuring proper operation and safety․
Adjusting the Gain Control
The gain control is crucial for matching the trailer’s braking force to the towing vehicle․ It determines the sensitivity of the controller, influencing how aggressively the trailer brakes respond to the vehicle’s brake pedal․
Start with a low gain setting and gradually increase it until the trailer brakes feel balanced with the vehicle․ Adjust to approximately 2․0 by pushing the Gain button upwards․ Fine-tuning is essential for optimal performance and safety․
Remember, excessive gain can lead to trailer brake lockup, while insufficient gain may result in inadequate stopping power․ Always test the braking system in a safe, controlled environment after any gain adjustment․
Increasing Gain (Pushing the Gain Button Up)
Pushing the Gain button upwards incrementally increases the trailer brake output relative to the vehicle’s braking input․ This amplifies the braking force applied to the trailer, making it more responsive․ Begin with small adjustments, observing the trailer’s reaction after each increment․
This is particularly useful when towing heavier loads or navigating downhill slopes where increased braking power is required․ Adjust to approximately 2․0 by repeatedly pushing the Gain button up․ Monitor for signs of trailer brake lockup, which indicates the gain is set too high․
Always prioritize a smooth, controlled braking experience, avoiding abrupt or jerky movements․
Decreasing Gain (Pushing the Gain Button Down)
Pushing the Gain button downwards reduces the trailer brake output, lessening the braking force applied to the trailer․ This is beneficial when towing lighter loads or when a more subtle braking response is desired․ Adjustments should be made gradually, observing the trailer’s behavior after each change․
If the trailer brakes are locking up prematurely, or if you experience instability during braking, decreasing the gain is crucial․ Adjust to a lower setting by repeatedly pushing the Gain button down (-)․ Ensure the trailer remains stable and responsive without exhibiting signs of skidding․
A properly adjusted gain ensures optimal braking performance and enhances overall towing safety․
Synchronization Procedure
Synchronization is vital for optimal brake controller performance, ensuring the trailer brakes activate in harmony with the vehicle’s braking system․ This process establishes a connection between the controller and the trailer brakes, allowing for proportional or time-activated braking․
To initiate synchronization, first, ensure the vehicle is stationary and the trailer is connected․ With the ignition on, and while firmly holding the vehicle’s brake pedal, press either Sync button on the controller․ The LED display will indicate successful synchronization․ Repeat if necessary․
Proper synchronization guarantees a smooth and controlled towing experience, maximizing safety and minimizing the risk of trailer sway or jackknifing․
Sync Button Functionality
The Sync buttons on the Hayman Reese brake controller are crucial for establishing communication between the control unit and the trailer’s braking system․ These buttons initiate the synchronization procedure, allowing the controller to learn the vehicle’s brake signal and apply the appropriate braking force to the trailer․
During synchronization, pressing either Sync button while firmly applying the vehicle’s brake pedal sends a signal to the trailer brakes․ The controller then adjusts its settings to match the vehicle’s braking characteristics․ Successful synchronization is indicated by the LED display․
Utilizing the Sync buttons correctly ensures optimal braking performance and a safer towing experience․
Synchronizing with the Vehicle’s Brakes
Proper synchronization is vital for optimal trailer braking performance․ Begin by ensuring the vehicle and trailer are connected correctly, with the wiring harness securely fastened․ With the vehicle running, apply the brakes firmly and consistently․
While maintaining brake pedal pressure, press and hold either of the Sync buttons on the Hayman Reese controller․ The controller will analyze the vehicle’s brake signal and adjust its output accordingly․ Observe the LED display for confirmation of successful synchronization – typically indicated by a specific pattern or solid light․
Repeat this process if necessary to fine-tune the synchronization and ensure responsive, safe braking․
Operation and Features
The Hayman Reese controller offers manual slide control and features an informative LED display, providing real-time braking status and aiding in troubleshooting potential issues․
Manual Slide Control Operation
The manual slide control allows for precise brake force adjustment during towing․ This feature provides the driver with direct control over the trailer’s braking, independent of the vehicle’s system․ To operate, simply slide the control lever forward to apply the trailer brakes; the further forward, the greater the braking force․
Remember to use this control in conjunction with the vehicle’s brakes for optimal stopping power․ The controller’s proportional nature means the trailer brakes activate in proportion to the vehicle’s braking, enhancing safety and stability․ Adjusting the gain control (discussed elsewhere in this manual) is crucial for fine-tuning the responsiveness of the manual slide control to your specific trailer and load․
Understanding the LED Display Indicators
The LED display on your Hayman Reese brake controller provides vital information about the system’s status․ Different indicator lights signal various conditions, ensuring you’re aware of the controller’s operation․ A solid light typically indicates normal function, while flashing lights often signify an issue requiring attention․
Refer to the controller’s specific model documentation (Guardian or CompactIQ) for a detailed breakdown of each LED indicator․ Common indicators relate to power, synchronization status, and potential fault conditions․ Understanding these signals allows for quick diagnosis of any problems and ensures safe and reliable trailer braking․ Regularly check the LED display during operation;
Troubleshooting Common Issues
Encountering issues with your Hayman Reese brake controller? This section addresses common problems and solutions․ If the controller isn’t responding, verify the vehicle battery connection and ensure the unit is receiving power․ For brakes not activating properly, double-check the wiring connections, particularly the SmartClick harness (Part No: 05012), and confirm correct synchronization with the vehicle’s brakes using the Sync button․
Ensure the gain control is appropriately adjusted – start around 2․0 and fine-tune as needed․ If problems persist, consult the Hayman Reese website (haymanreese․com․au) for detailed troubleshooting guides or contact CaravansPlus for assistance․
Controller Not Responding
If your Hayman Reese brake controller fails to power on or respond, begin by verifying the vehicle’s battery connection․ Ensure the negative (-) cable was disconnected before installation and is now securely reconnected․ Check the controller’s wiring harness (Part No: 05012) for any loose connections or damage․ Confirm the unit is receiving power by testing the power supply wire with a multimeter․
Review the installation instructions at haymanreese․com․au to ensure all wiring steps were followed correctly․ A blown fuse in the vehicle’s electrical system could also be the cause; check the relevant fuse box․ If the issue persists, contact a qualified auto electrician․
Brakes Not Activating Properly
If the trailer brakes aren’t activating sufficiently, first re-examine the synchronization procedure․ While holding the brake pedal, press the Sync button to establish communication between the vehicle and trailer brakes․ Adjust the gain control; start with a setting of approximately 2․0 by pushing the Gain button up, and fine-tune as needed․
Verify the trailer’s brake magnets are functioning correctly and aren’t worn or damaged․ Inspect the wiring connections at the trailer for corrosion or looseness․ Refer to the installation instructions at caravansplus․com․au for wiring diagrams․ If problems continue, consult a qualified mechanic specializing in trailer brake systems․
Hayman Reese CompactIQ Overview
The Hayman Reese CompactIQ is a proportional brake controller, representing an expansion of their remote mount range․ It offers a sophisticated alternative to time-activated controllers, providing smoother and more controlled braking․ This unit is designed for ease of installation, utilizing the SmartClick wiring system (Part No: 05012) for streamlined connections․
CompactIQ’s proportional functionality means braking force is directly related to the vehicle’s deceleration, enhancing safety and comfort․ It features an intuitive LED display for monitoring performance and a manual slide control for precise adjustments․ Further details and wiring instructions are available at haymanreese․com․au․
Guardian Model Specifics
The Hayman Reese Guardian brake controller is a robust unit designed for reliable towing performance․ Installation requires securing the control unit to a solid surface within easy reach of the driver, ensuring accessibility for adjustments․ Before drilling, confirm the area behind the mounting panel is clear to avoid damaging vehicle components․
Wiring utilizes the SmartClick system (Harness Part No: 05012), simplifying connections to the vehicle’s harness layout․ Synchronization is achieved by holding the brake pedal and pressing the Sync button․ Adjust the gain control, aiming for approximately 2․0 by using the up button, for optimal braking force․ Detailed instructions are available at caravansplus․com․au․
Resources and Further Information

For comprehensive support and detailed information regarding your Hayman Reese brake controller, several resources are readily available․ The official Hayman Reese website (haymanreese․com․au) provides extensive documentation, including wiring instructions and frequently asked questions․ You can find installation guides and product manuals there․
Additionally, CaravansPlus (caravansplus․com․au) offers valuable resources, such as downloadable PDF product manuals – for example, the Grey Nuova Mapa Telescopic Table Leg manual (363kb)․ Keep the product number (PART No: 05012) handy when searching for specific support․ These websites are your go-to destinations for troubleshooting and maximizing your towing experience․
Hayman Reese Website (haymanreese․com․au)
The Hayman Reese website serves as a central hub for all your brake controller needs․ It offers a wealth of information, including detailed wiring instructions accessible through their online resources – look for sections labeled “/wirin,” “/wiringinst,” and “instructions․” You’ll find comprehensive guides to help with installation, ensuring a secure and functional setup․
Specifically, the site provides product manuals and support documentation for models like the Guardian․ Explore the website to locate information relevant to PART No: 05012, the brake controller harness․ It’s an invaluable resource for troubleshooting and understanding the features of your Hayman Reese system, maximizing your towing safety and convenience․
CaravansPlus Website (caravansplus․com․au)
CaravansPlus is a valuable resource for Hayman Reese brake controller users, offering supplementary information and product support․ They provide access to PDF product manuals, such as the 363kb document for the Grey Nuova Mapa Telescopic Table Leg (Model 400-02600), demonstrating their commitment to detailed documentation․
While primarily a retailer of caravan and RV accessories, CaravansPlus links directly to relevant Hayman Reese resources․ You can find further details about the Guardian model and related products on their site; It’s a convenient location to explore additional options and potentially purchase components needed for installation or maintenance, complementing the official Hayman Reese website․